This guide will help you install and setup C++ development environment in Linux (Ubuntu or other that can use package manager) using Eclipse IDE.
You can deploy C++ program in Linux and I’ll show you the same here. Let’s part this article in these two segments for easy understanding.
- Setup Eclipse for C++ development in Ubuntu Linux
- Learn to compile and run C++ programs in Ubuntu Linux
The instructions are exact for Ubuntu and may apply on other Linux distributions which also support package manager to get software from Linux app store. Other workable Linux are Linux Mint, Elementary OS, POP! OS and etc.
Install build-essential
To do all sort of coding in Linux, you first fire up the terminal and install build-essential package. It a bunch of software you’ll need to compile programs (GCC and G++ compilers).
Some Linux Distros comes preloaded with build-essential, but make sure to run the following command to install. If it’s not already installed, it will get installed, if there is an update to this is available and if it’s already installed the terminal will tell you so.
sudo apt-get install build-essential
Compile and run C++ program in Ubuntu Linux
When you install build-essential the core part is done, you are ready to jump and compile program in Linux. Assuming you can code in C++, here our main goal is on how you can compile and run C++ programs in Linux.
For instance, you have a example.cpp (cpp is a standard extension for program).
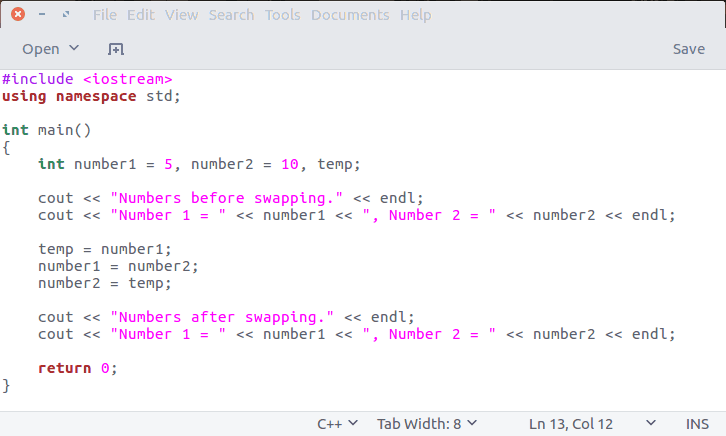
You can save this file anywhere on your computer.
Compile C++ code in Linux:
From the directory where you program is present fire up the following command.
g++ -o swap example.cpp
-o = We use this option will build an executable code in the file.
Run C++ code in Linux:
After you done compiling the code, a executable file will be there which you can run using the following command.
./example
This will put your code in action.
Method 2: Setup Eclipse for C++ programming in Ubuntu Linux
The above was the basic pay of running your C plus plus program on a Linux operating system. That being said compiling and running individual file will take so much time if done one by one. That is where IDE (Integrated Development Environmen) came to serve, now there are many ID available for Linux but let’s start with eclipse (it’s open source).
Install Eclipse in Ubuntu based Linux distributions
If you are on Ubuntu you can get the software from the link below.
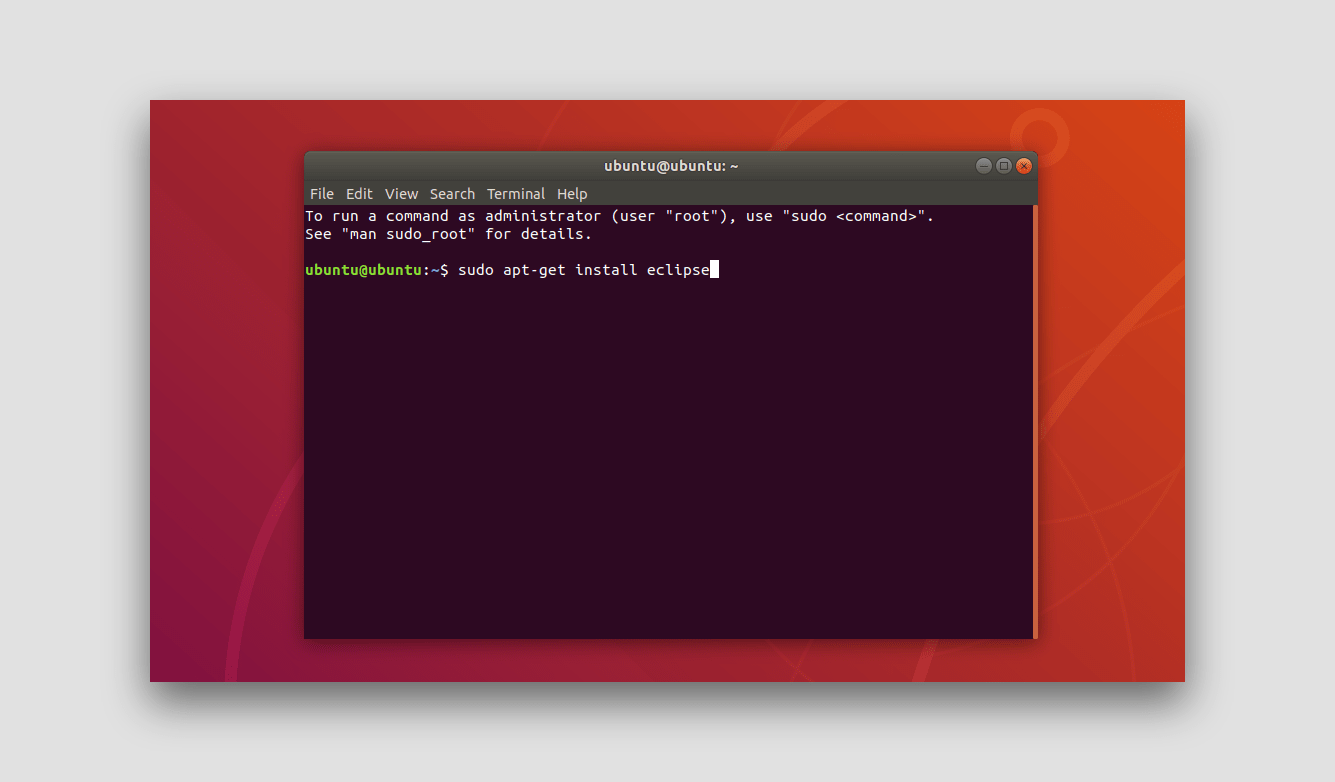
Fire up the terminal and type the following command to install eclipse on your Linux machine. This will download and install eclipse from the software center (apart from Ubuntu Linux this will also work on Ubuntu based Linux distro and you can always side-load it in your favorite LINUX operating system.
sudo apt-get install eclipse
It didn’t work for me on Ubuntu 18.04 beta, but I was able to install it from the software center.
Follow these steps to install it from the software center.
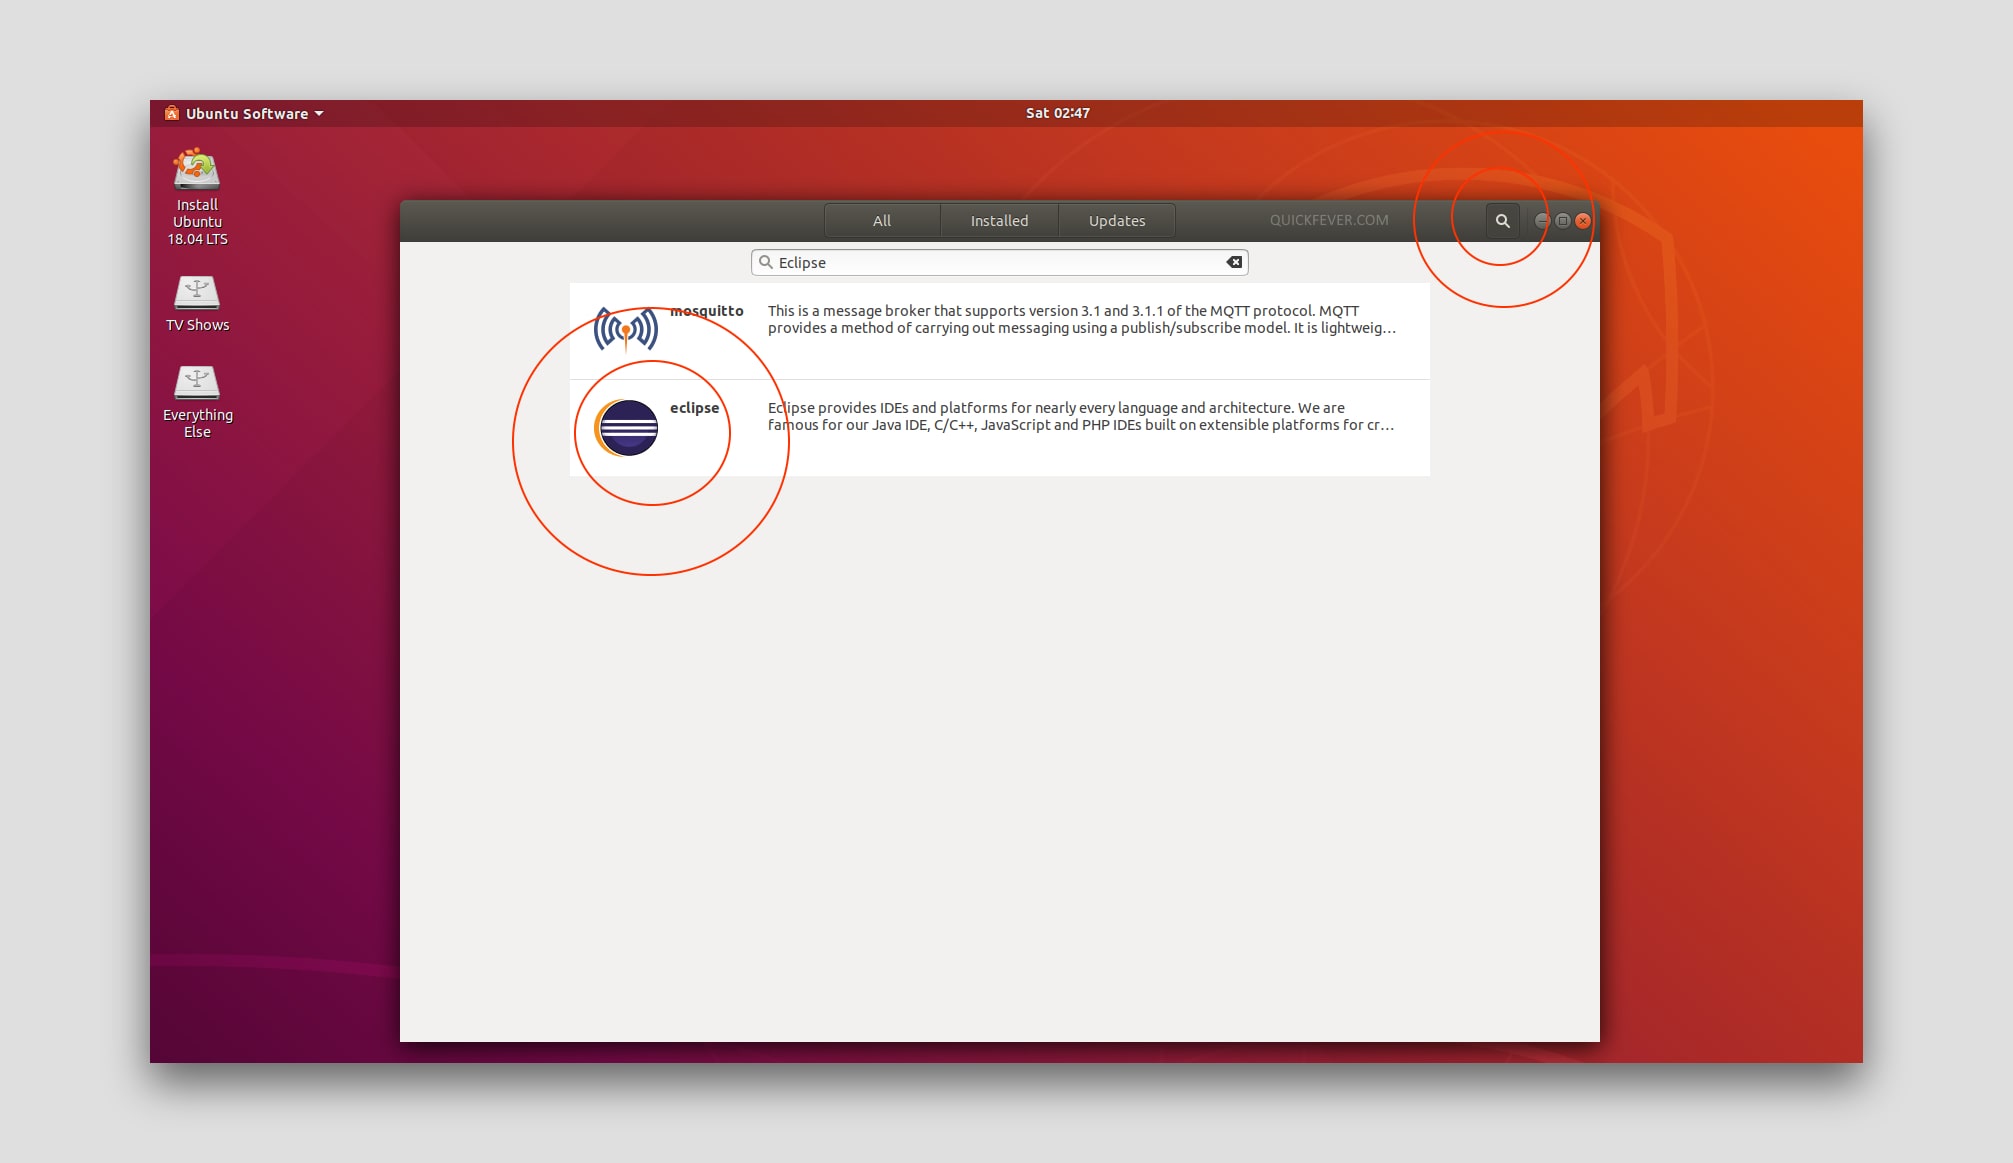
Step 1. Press the start button on your keyboard or click the menu icon left-bottom and open Ubuntu Software.

Step 2. Now go ahead, using the search icon type Eclipse and from result select it.
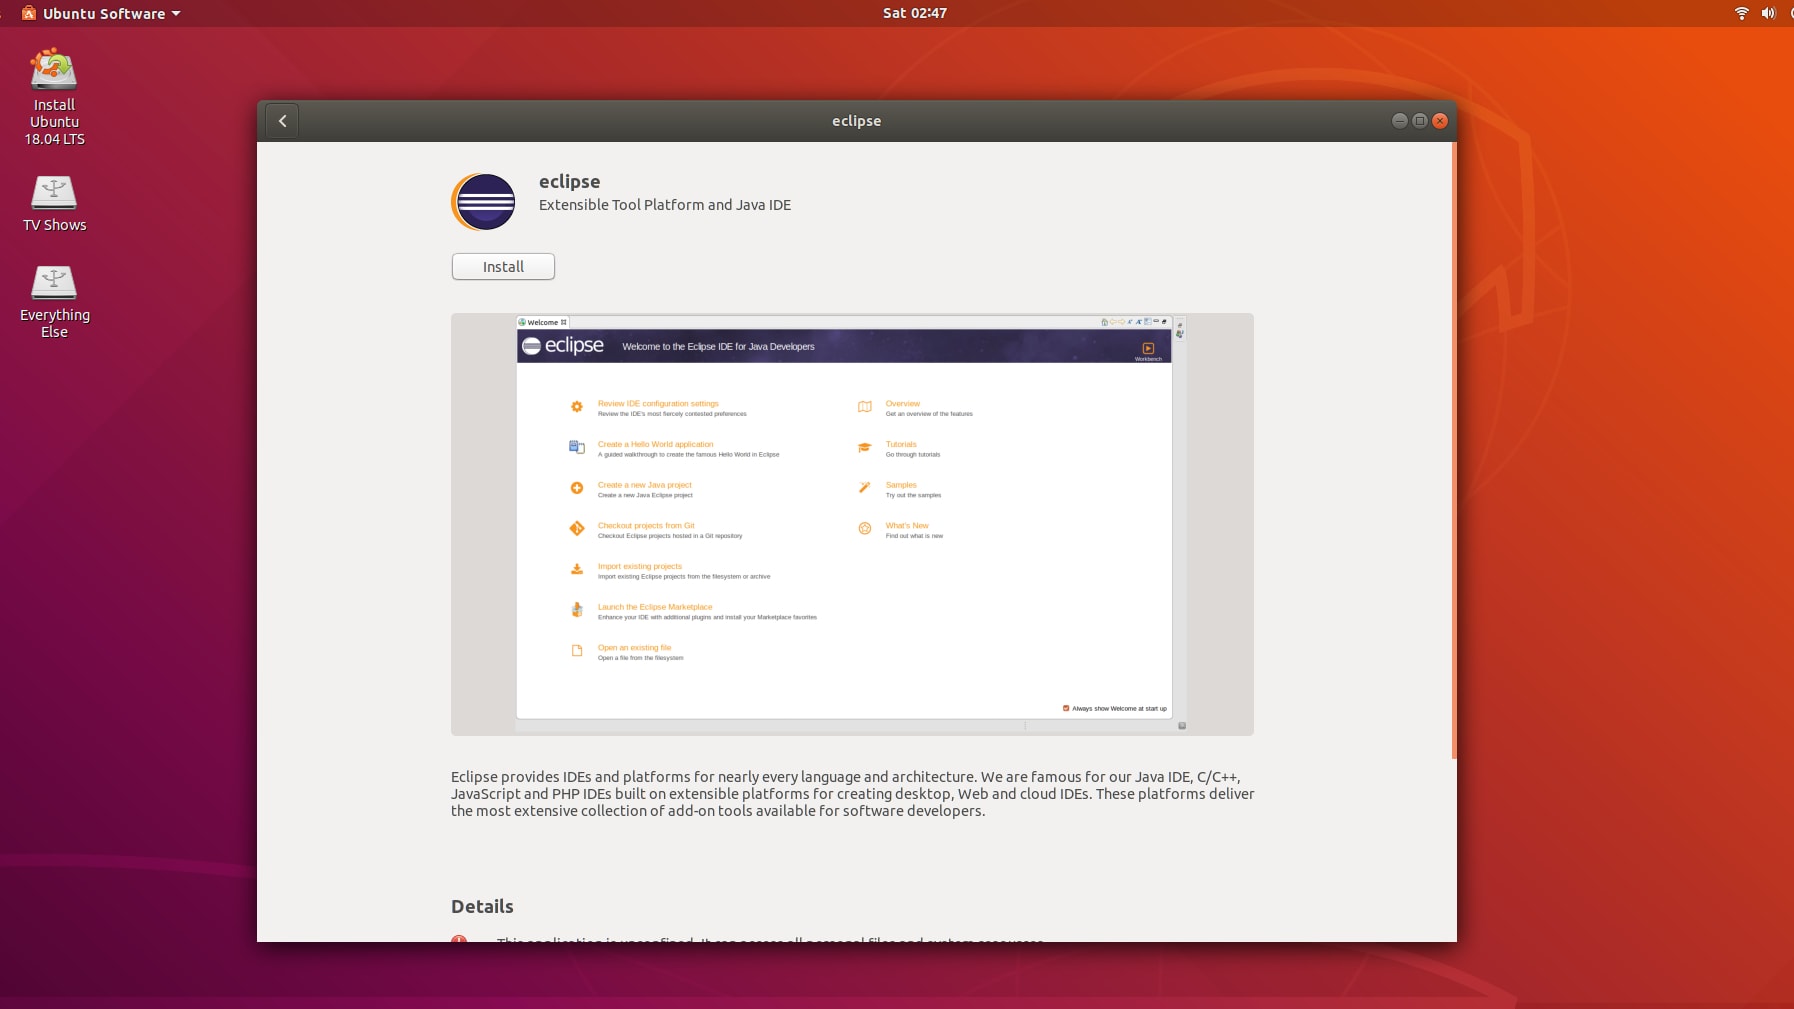
Step 3. Final step, click the install button. Easy peasy.
Install Eclipse C++ Development Tooling (CDT) Plugin
Eclipse is pre-configured for Java development but you need to configure it for C++ development which is why we are going to install a plugin goes by the name C++ development tooling (CDT). To install CDT.
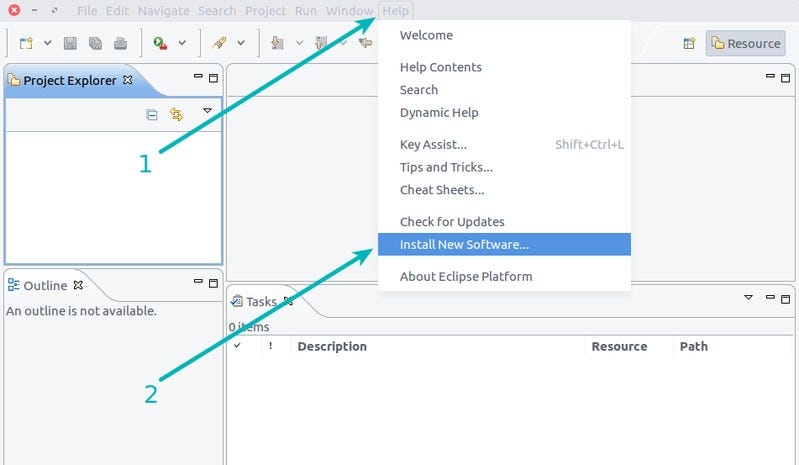
Step 1: Open the eclipse and from the help click install new software.
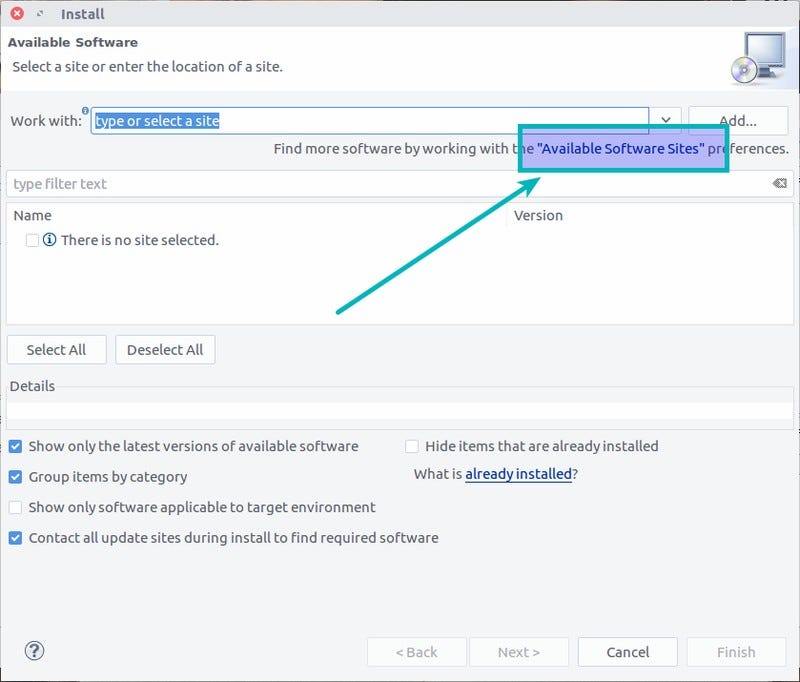
Step 2: Now click on the available software sites link.
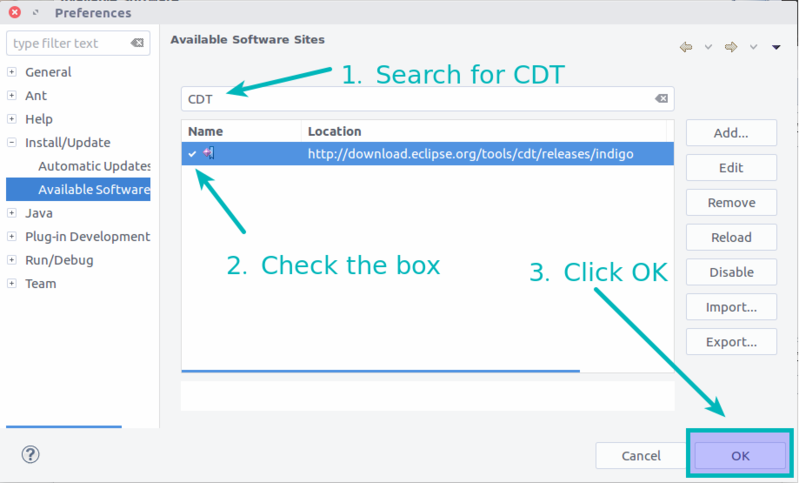
Step 3: Now types EDT in this search bar and select the result and click ok.
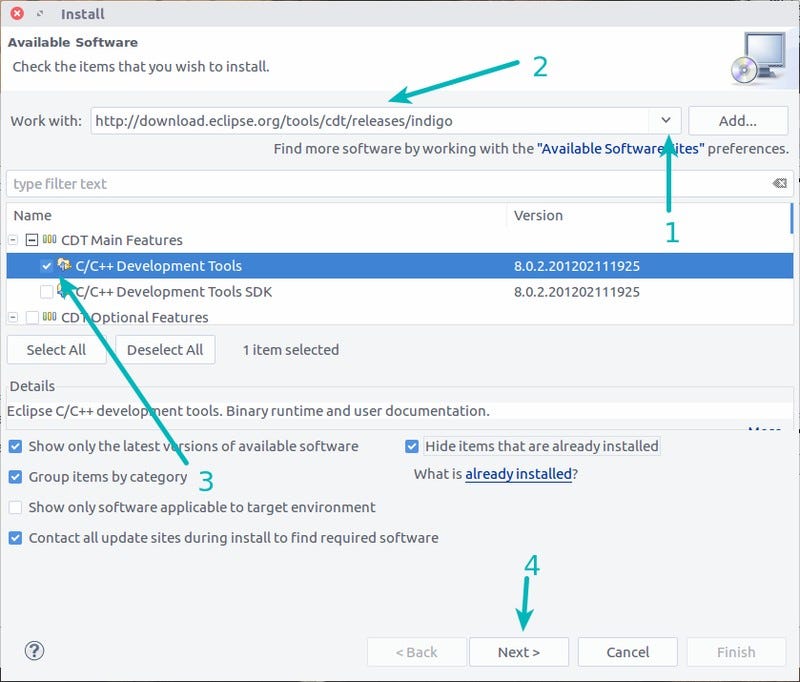
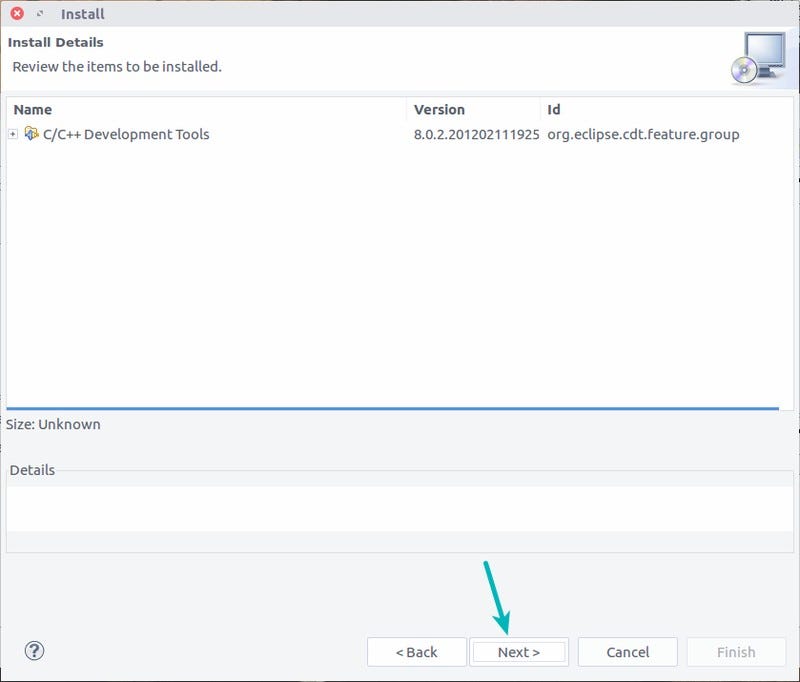
Step 4: From the drop-down take the C++ development tools and click next.
A few clicks on the Next button.
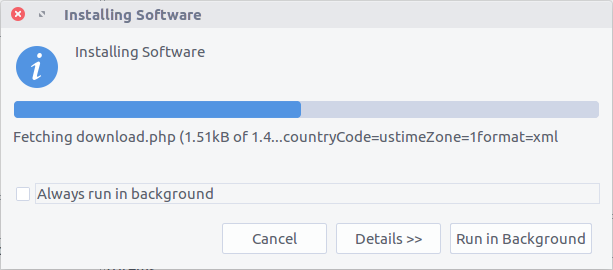
Now make sure you are connected to a fast internet because this is going to take some time, the process will install this software from the repository.
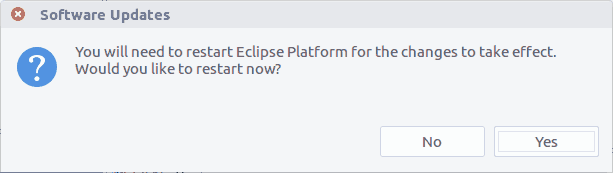
Once the process is done close the eclipse a platform and start it again for the changes to take effect.
Compile and run C++ program with Eclipse CDT
You’ll see the information about C++ Plugin at the next start.
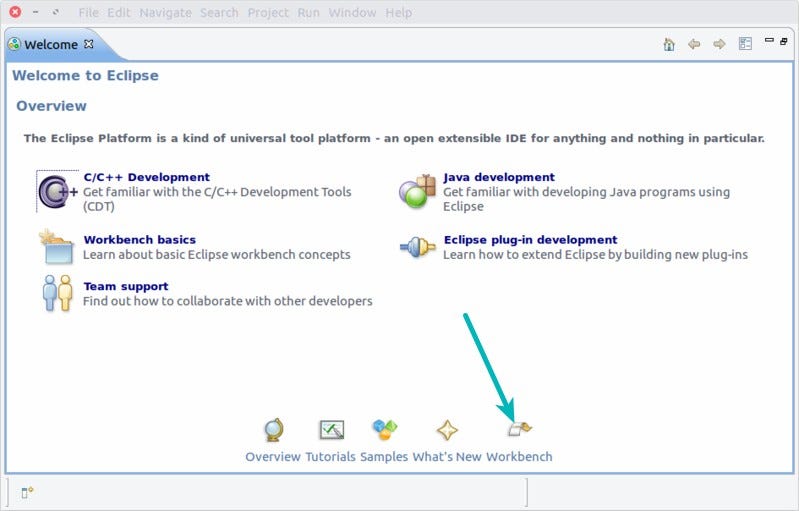
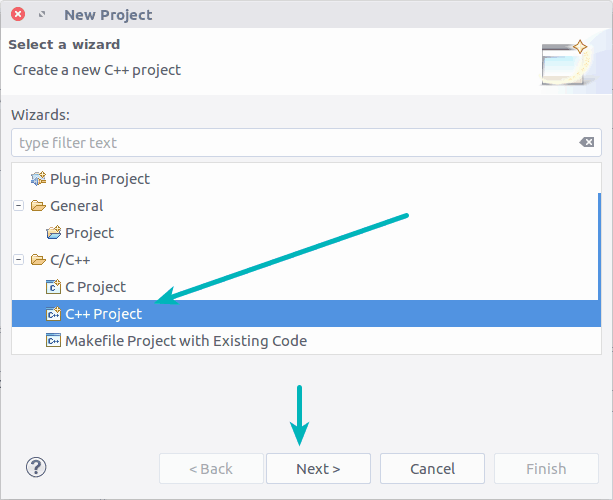
You can now import or create C++ projects, to do that start a new project with C++ option.
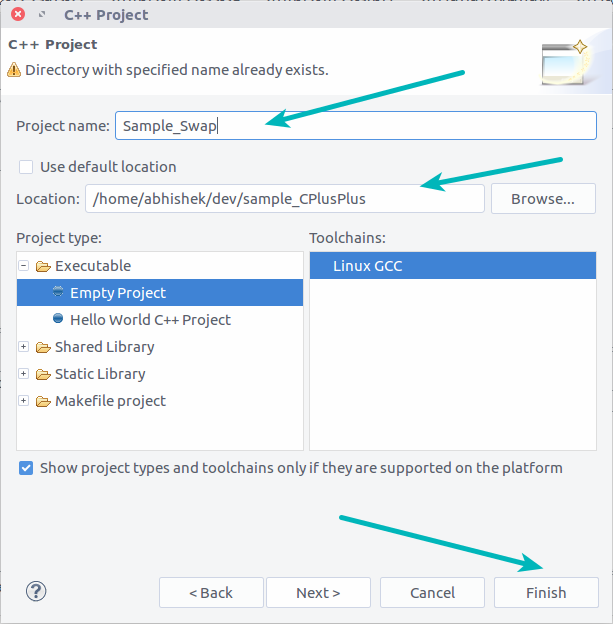
When you create a new project or simple import, you’ll be asked to enter a new project name ana you can also choose to save it under a manual location.
Once you have everything ready, you can compile the C++ project and run it:

So that’s how you make a C++ environment on Ubuntu Linux if you find this article helpful share it with your developer friends and tweet about it. These instructions will also apply on other Linux distributions such as lubuntu, Ubuntu, Fedora, elementary OS and pretty much everything that has Ubuntu software and ability to download repository from there. If you are using a Linux distribution that does not support installing from terminal Ubuntu software Center you can always download your favorite IDE inside load it
